Category Archives: DIY

Ceiling Lights

Lighten up with a garden room

Push the boundaries between outside and in with a garden room. From quirky covered terraces to traditional extensions, orangeries or panoramic conservatories, get yourself a space that allows you fire up your imagination and flex your creative muscles. Not only will it give you some extra space, but your perfect garden room will give you a welcome haven that allows you to kick back and relax in all seasons.

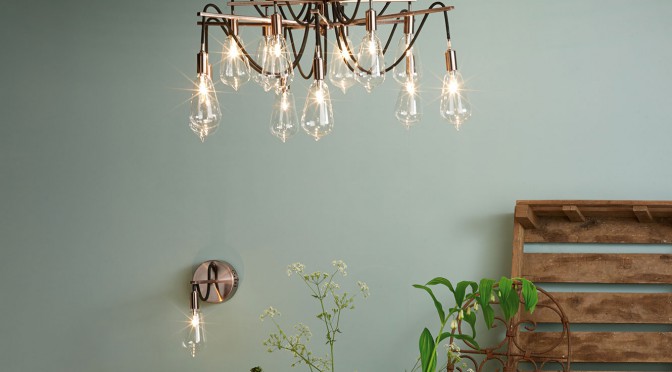
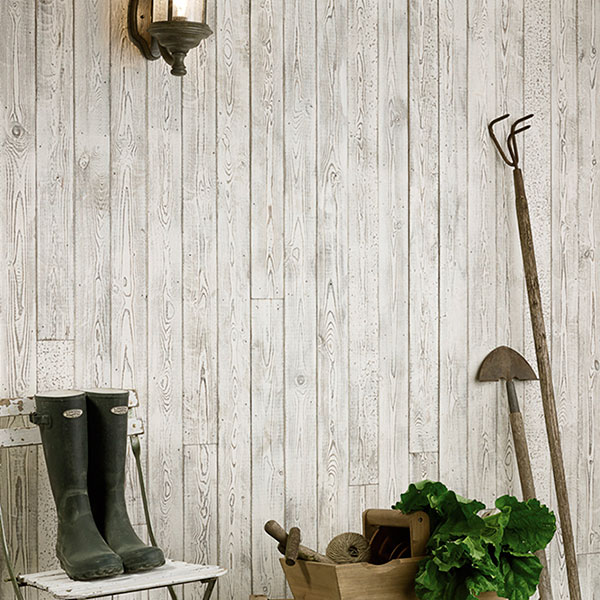
If you are blessed with green fingers, creating your perfect garden hideaway can be as simple as teaming your favourite pots and plants with rustic rattan or wooden furniture and some classic outdoor wall lighting.

Outdoor Wall Lights

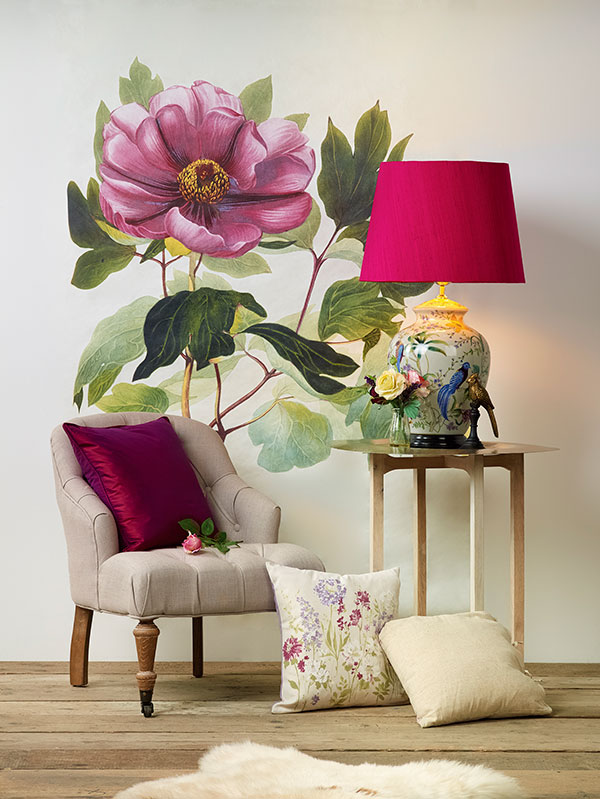
┬áIf youÔÇÖre looking to achieve the botanical look without getting your hands dirty, then why not keep your garden room on message with a floral or printed wallpaper? Add a stylish table and chairs and depending on the purpose of your garden room, youÔÇÖve got yourself a charming and timeless area to dine or relax. Make a focal point with a single piece of furniture or lighting, but remember to keep things versatile as blinds will more than likely fade quickly in a room bathed in light. Choose furniture that works both indoors and out.

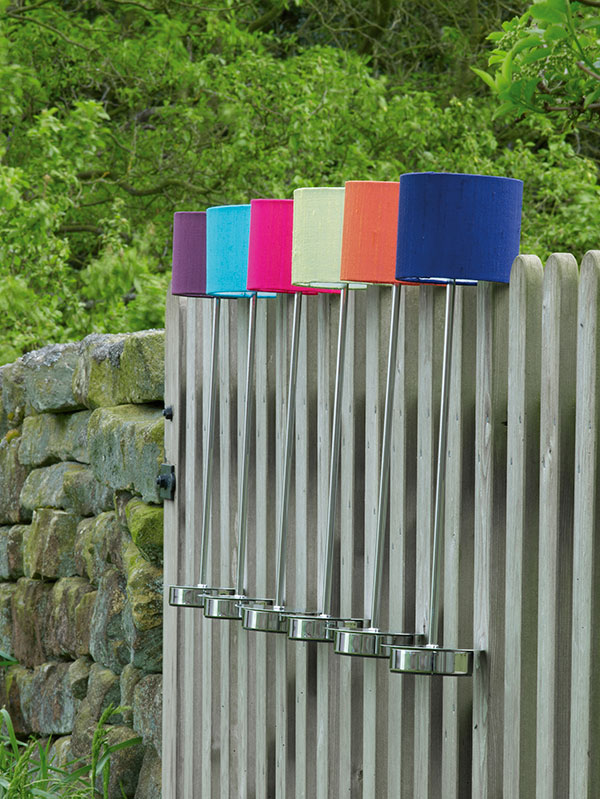
If bright and bold is more your thing, why not recreate the holiday vibe with bold bean bag style seating, bright bench cushions or silk lamp shades. Spice up the party atmosphere with some bold bunting and youÔÇÖll smile every time you walk in!

Chrome Table Lamps

┬áKeeping your garden room cool in summer and warm in winter, is key to using it all year round. Depending on your garden roomÔÇÖs orientation, ventilation and blinds will be key to keeping a comfortable temperature in the summer months. Keep a tower fan or an electric storage heater tucked away in the corner to help out when you need it.

How to… install a stair runner

stair-runner

The Dash & Albert Rug Co.


The kitchen might be the heart of the home but itÔÇÖs the hall that creates the first impression! If your entrance looks a little tired but you need to do your DIY on a budget, a stair runner can create the right welcome without the cost of carpeting the entire hall and landing. So hereÔÇÖs how to fit one!


What you need:

Air staple gun

Utility knife

Metre stick

Tape measure

Pencil

Stair rods

Stair pads


What you need to know:

The horizontal section of each stair – where you step – is called the TREAD.

The vertical section of each stair is called the RISER.


How to measure up:

To measure the length of the runner:

  • Multiply the number of treads by the depth of one tread
  • Multiply the number of risers by the depth of one riser
  • Add the two measurements together
  • Add three inches per stair
  • Add surplus to account for error

To measure the width, simply measure the width of one tread and subtract the amount of wood you would like on show either side (about four inches of stair either side is standard but it could be more on a wide staircase!).


Note that these instructions apply to straight stairs. Kite or winder (corner) stairs are a much trickier task and our advice would be to call in a professional carpet fitter.


  1. Sweep the stairs clean and remove any old nails or tacks.
  1. Lay a stair pad on each tread.
  1. Draw a straight line half an inch from the end of the runner and, using your metre stick and knife, cut the carpet to ensure a clean, straight edge.
  1. Measure the width of your stair tread with your tape measure and halve to find the centre point. Mark the centre of each tread with a pencil. Then measure the width of the stair runner and divide in half also, to find its centre.
  1. Place the runner on the top stair, leaving enough to cover the uppermost riser as well as the tread. Smooth out any air pockets and creases and, with the staple gun, tack the runner to the top of the riser, stapling every few inches along.
  1. Allow the runner to drop to the bottom of the staircase in line with each riser and tread. Loosely attach the stair rods by drilling holes in the stairs for the rod screws and loosely screwing in place.
  1. Staple the runner in place along the upper of each riser, just under the nose of the tread above. Remove the loosely screwed rod of that stair and tack the carpet again at the point where the riser meets the tread. Put the rod back in place, screwing it tightly into position.

8. At the bottom, trim any excess carpet and attach the runner along the bottom of the lowest riser.

Seven steps to a brilliant bathroom

diy-bathroom
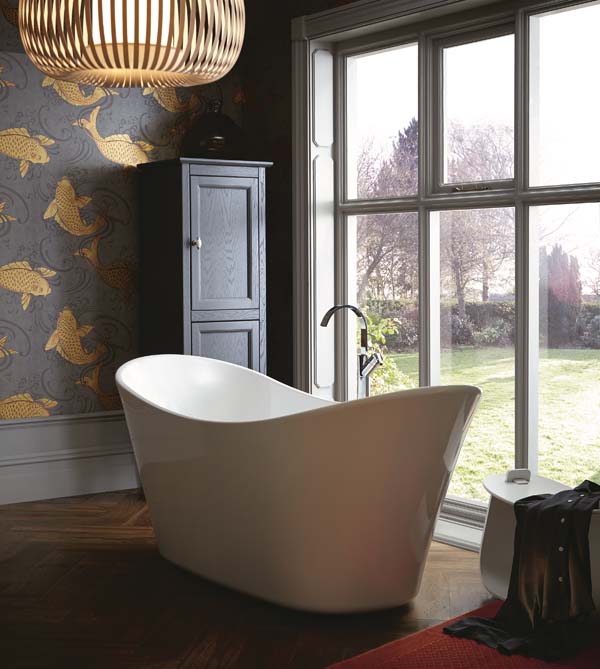
With news that nearly two thirds of us have not renovated our bathroom in the last five years, is it time your smallest room had a refit?
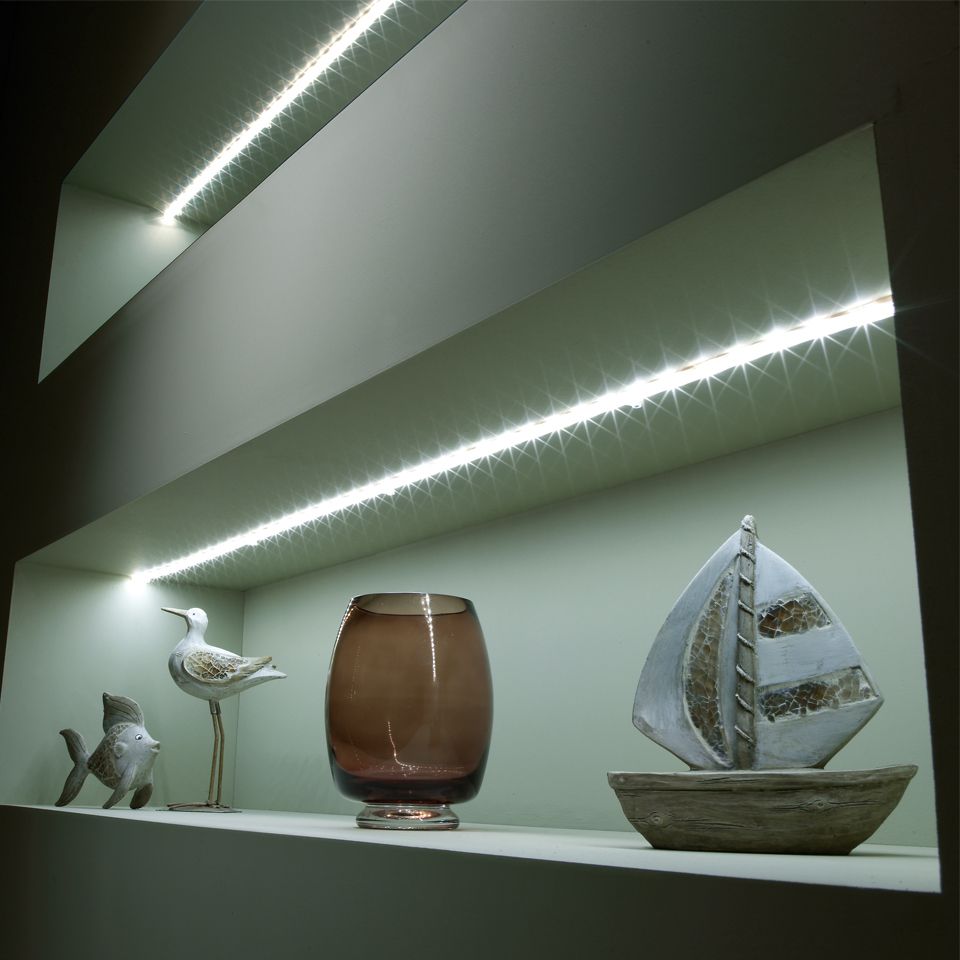
A recent survey from Shower Selector found that:

  • 31% of Brits have not decorated or renovated their bathroom in over five years
  • 18% are in the middle of a bathroom renovation
  • 16% last renovated their bathroom between two and five years ago
  • 11% of UK homeowners updated their bathroom between just six months and a year ago

So, with that in mind, here are our seven simple steps to the bathroom of your dreams:

  1. Work out your budget. A new bathroom neednÔÇÖt be expensive, but it depends on where you shop and how much of the work you are prepared to do yourself. Get quotes from online and in-store bathroom shops and donÔÇÖt forget to factor in delivery and labour costs. If youÔÇÖre not confident about plumbing but handy at decorating, you can hire contractors to install the bathroom then save money by doing the tiling and painting yourself.
  1. Plan ahead. Work out how long the job will take and how you are going to manage whilst itÔÇÖs being done – particularly if you donÔÇÖt have another loo! Check and double check measurements and factor in extra time (and budget) for unforeseen problems that might be uncovered along the way.
  1. Grand designs. Having a stylish bathroom is not all about buying the latest trends – in fact, often, just the opposite is true. When designing your refit, consider the age and style of your home, as well as your familyÔÇÖs size and lifestyle. Freestanding baths can look fantastically elegant in the right setting but would a fitted suite work better? Factor in existing wiring and plumbing and consider whether it can be moved or whether youÔÇÖll just to have to work with the current layout. Lastly, think about resale value in case you move. You might think those purple tiles and glitzy chandelier are the epitome of good taste but potential buyers might not agree!
  1. Walls and floors. Waterproof walls and floors are a must, and thereÔÇÖs a lot of choice on the market to suit all budgets. Marble, ceramic or granite tiles look stunning and are highly durable, but vinyl floor tiles can look just as effective at a much smaller cost. Remember that the flooring needs to be slip-resistant or, at the very least, buy a selection of high-quality, non-slip mats! Choose specific bathroom paint over standard versions as it features moisture and steam protection – and is even available in marble effect these days!
  1. bathroom-lightingRight lighting. Bathroom lighting needs to strike a fine balance between creating a calming atmosphere for a relaxing bath whilst providing the right light to allow you to shave or put on make up! Consider a feature ceiling light or downlights to create the right mood, with cabinet strip lights or a mirror light to carry out those close-ups. Due to the presence of water in the bathroom, lighting must meet a minimum IP rating, depending on its location, to reduce the risk of electric shock. HereÔÇÖs a handy guide to bathroom ÔÇÿzonesÔÇÖ and IP ratings applying to each.
  1. Ventilation. Good ventilation in a bathroom is essential to reduce condensation and eliminate smells. If the bathroom is in a new extension to your home, the GovernmentÔÇÖs planning portal says that it should have a mechanical extraction fan, but many homeowners also choose to install them in existing bathrooms. Some fans have timers, which are good for saving energy, whilst you can also buy high-powered inline fans with built-in LED lights.
  1. Accessorize. Once the refit is complete, all thatÔÇÖs left is to accessorize and, if your bathroom was done on a budget, this is where you can really glam it up! From shower curtains and bathmats to toothbrush caddies and loo roll holders, hereÔÇÖs your chance to ÔÇÿsplashÔÇÖ out on the small details!