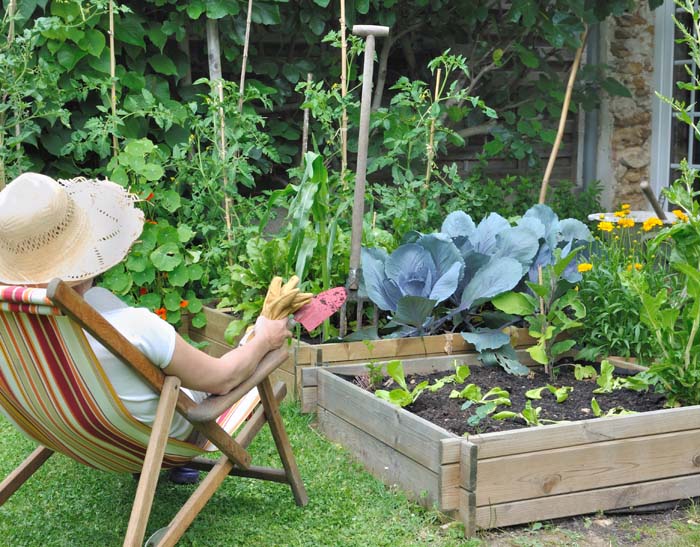
The school holidays are underway, so what better time to get your little helpers involved in a spot of outdoor DIY? Making a raised garden bed or vegetable box is a fun summertime activity to do with your children, and hereÔÇÖs how!
What you need:
Four lengths of board, with each ÔÇÿpairÔÇÖ the same length
Four wooden posts of equal length
1ÔÇØ screws or decking screws
Drill
Heavy duty staple gun or handful of nails
Soil
Weed control membrane
Seeds or plants!
 
The benefits of a raised garden bed:
A raised bed or veg box can enjoy greater exposure to the sun and improved drainage. You can choose the quality of the soil you put in and youÔÇÖll have less weeds to deal with. Depending on the height of your bed, it can also be easier for children and older relatives to plant and water, plus itÔÇÖs educational, as young children can find out where food comes from as their seedlings grow!
 
Five steps to a raised bed:
 
- Mark out the position of the raised bed in the chosen location, digging four shallow ÔÇÿtrenchesÔÇÖ for the sides and digging holes at each corner for the posts
- Set the posts securely in each corner. If the bed is particularly long, you can strengthen it by adding posts in the centre of the long sides as well
- Cut the boards to the required length and place against the corner posts. Drill the boards into place with the screws
- Place a layer of weed membrane inside the box, overlapping with the edges all round, and nail or staple
- Add the soil and get planting! You can use the beds all year round to grow different vegetables and fruit depending on the season, and donÔÇÖt forget that rotating your crop is also good for the soil!
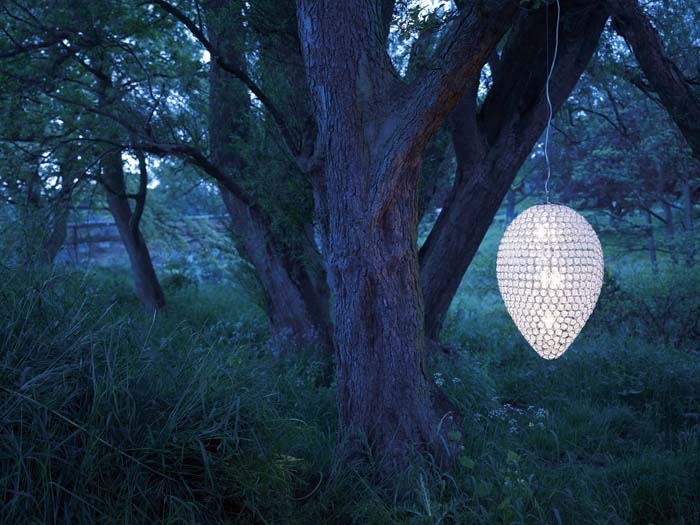
Once the hard work is finished, all thatÔÇÖs left to do is sit back on the newly-painted garden bench, switch on the outdoor lights and make the most of lazy summer evenings!
